The installation procedure for Discountify is the same as that for all the other WordPress plugins. For further guidelines, choose any of the following methods.
Installing the Free version
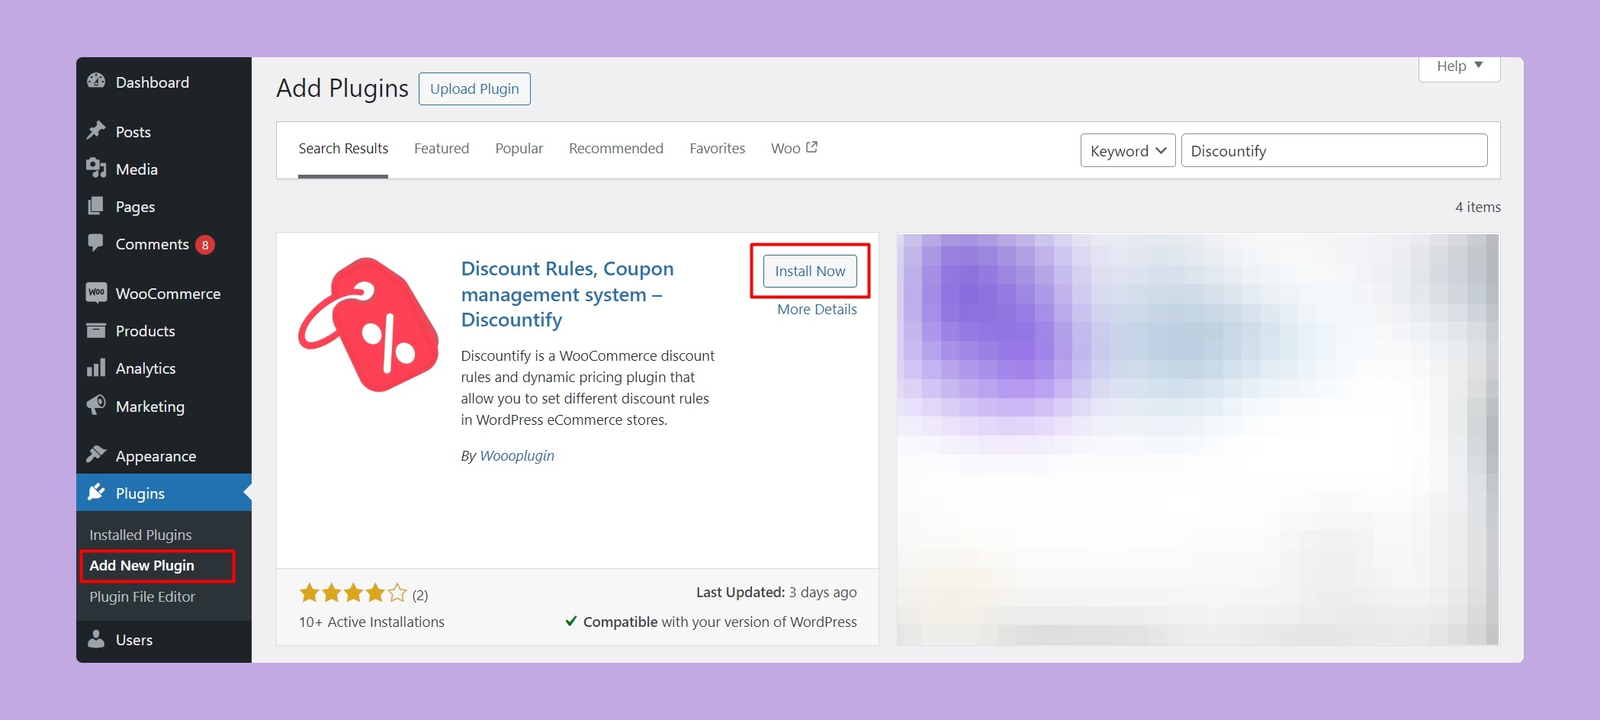
The free version is available on the WordPress.org plugins directory. So, you can install Discountify right from your WordPress dashboard as well. Here’s the process:
- Go to your WordPress site Dashboard.
- Navigate to Plugins > Add New Plugin and type in “Discountify” in the search field.
- Find Discountify from the list and hit the “Install Now” button.

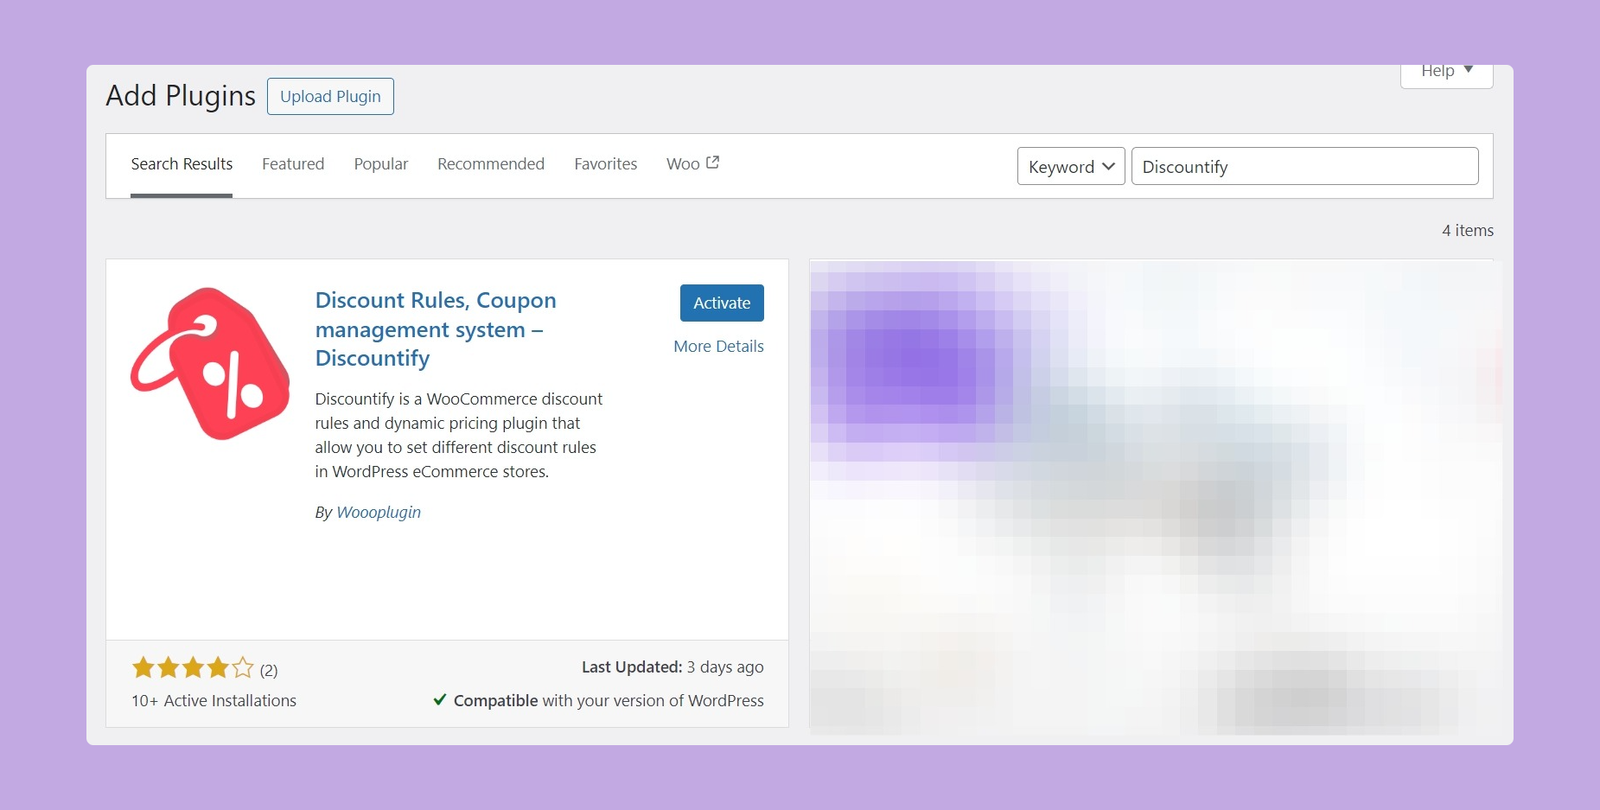
4. After installing the plugin, you have to activate it. To do so, click on that blue “Activate” button and your installation process will be completed.

Installing the Pro version
You’ll need the plugin zip file and a license key to successfully install the pro version of Discountify.
To download the zip file of the Discountify plugin, you need to visit your Woooplugin dashboard page. You can download the pro version of Dicountify from there.
After downloading the plugin, follow the steps below:
- Go to your WordPress site Dashboard.
- Navigate to Plugins > Add New.
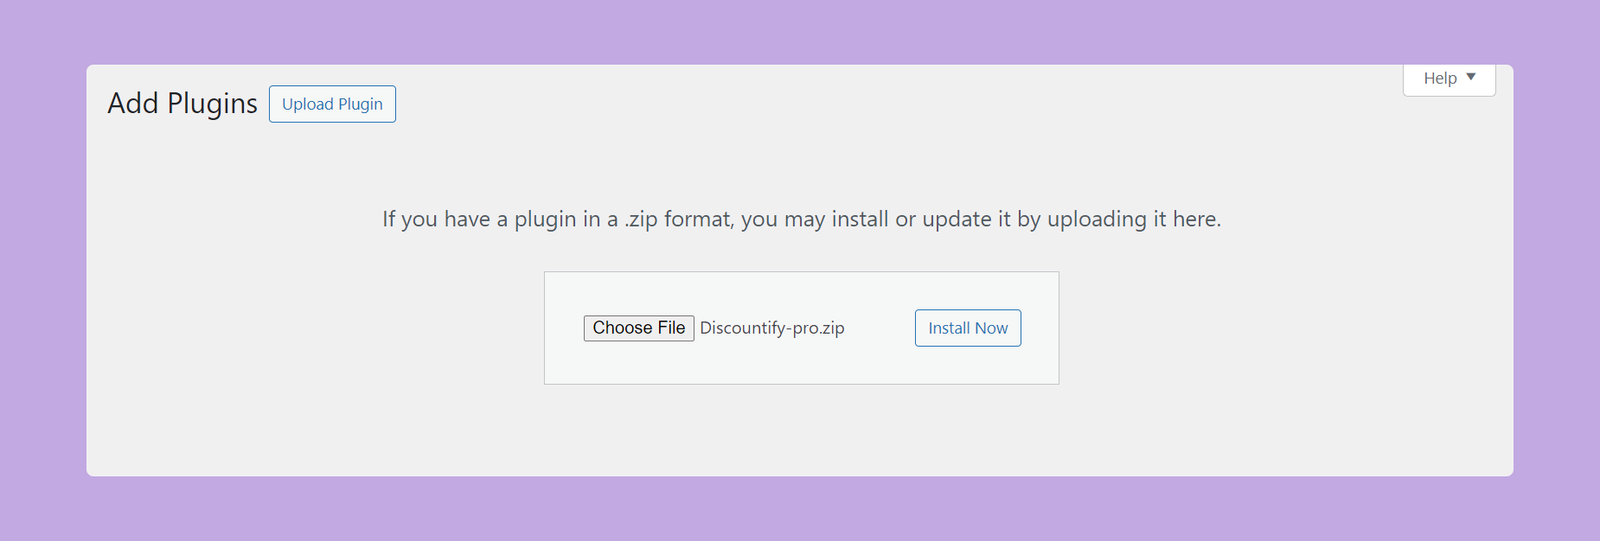
- On the top, right beside the “Add New Plugin” button, you’ll see an “Upload Plugin” button. Click on it.
- Select the downloaded zip file and click “Install Now.”
- Once installed, click “Activate” and the pro version will be activated.

That’s the overall process of installing the pro version of Discountify.
Note: You must keep both the Discountify free version and the Discountify Pro plugin activated to enjoy the premium features of Discountify.
License Activation
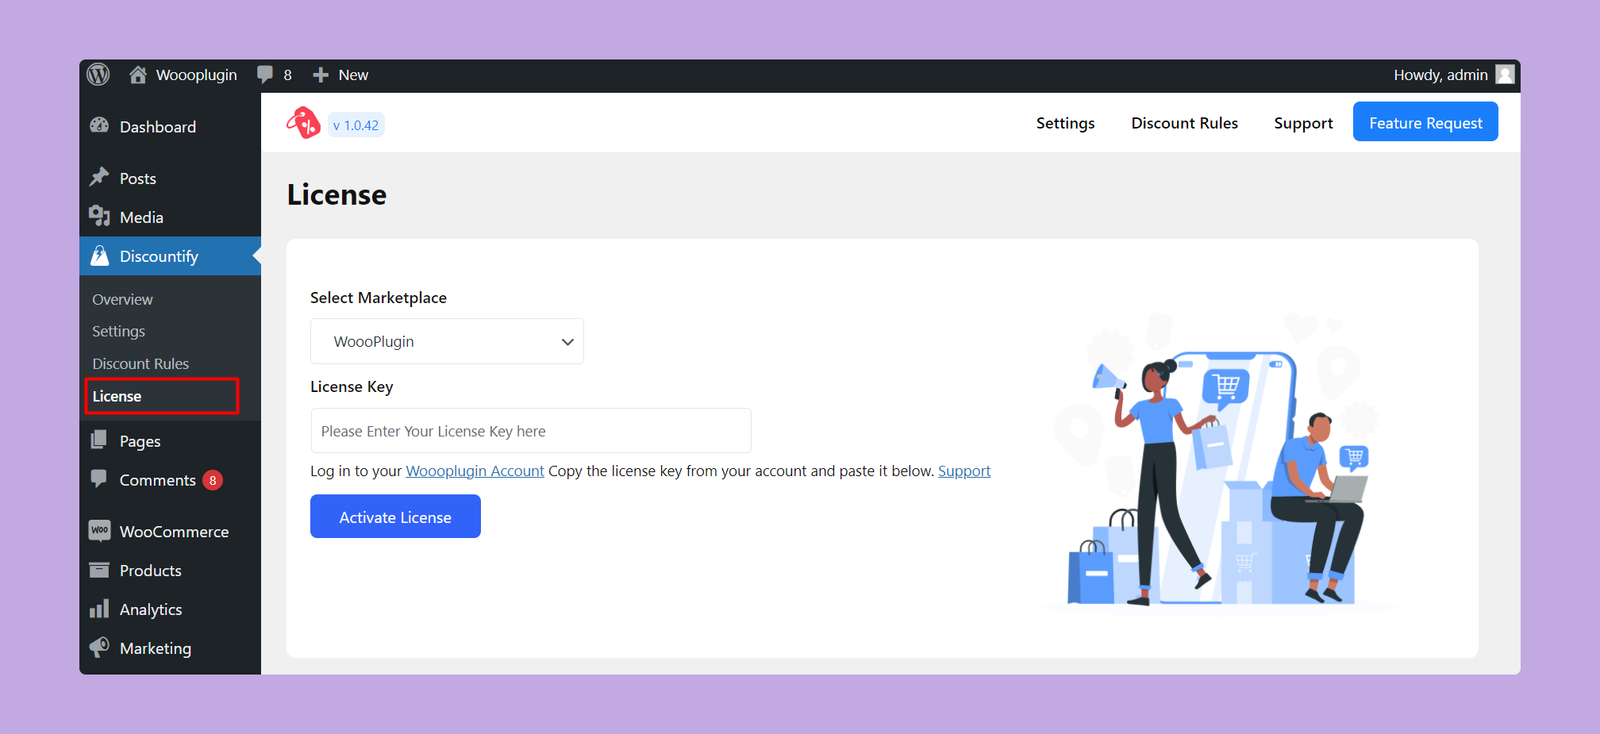
To activate the license, go to Discountify > License and paste your license there. Then click on the “Activate License” button and your license will be activated.

If you need help activating the license key, please check our premium plugin activation tutorial. If you need further assistance, feel free to contact us via our support form.
